Table Of Content

And you really can’t get started without a workspace to learn. So if you are short on space and don’t even want a foldable workbench on the floor then this workbench might be just what you’ve been looking for. What I mean by that is that each individual part is its own post. So if this is where you find yourself then check out this workbench. You’ll still have plenty of workspace without taking up a lot of permanent space. So a lot of people find themselves working on a tight budget when building something like a workbench.
Easy Build Workbench Plan
Beginners and intermediate woodworkers will appreciate the solid design that allows you access from all sides of the table. An MDF work surface will help to keep the wood that you are working on a level, even as the changes. Adding a small woodworking vice to one corner allows you to clamp projects down securely and frees up your hands for other things. This traditional English workbench is a time-tested workbench design. It’s plank top, wide front apron, and stout base are ready to serve you for years.
Timber Workbench
This 8-footworkbench is made out of plywood and 2x4s, so it is more than logical to callthis one a simple project. Another minor disadvantage we find when it comes tothe tutorial is that the music is a bit too loud so it gets hard to hear theinstructions well. Anyway, considering the extreme ease of this build, as wellas the materials needed, we think this is an excellent DIY workbench, andespecially for beginners. This easy DIY workbench project is not onlycost-effective but it also utilizes only some of the most common and unpretentioustools that we bet every average guy keeps available in his garage. That’s mostly thanks to the fact using screws makes itpossible to modify the design whenever you need to make a change.
Step 3: Materials
This workbench is not a bad choice even for beginnersbut due to the fact that the video tutorial lacks a good angle from time totime, it can get a bit confusing. Thus, we think this workbench plan is bettersuited for those who are a bit more experienced working with wood. The video tutorial starts with introducing thebuilding plans, although, for those whowant to have the full building plan guide, an extra fee of $20 is requiredafter sending off an email first.
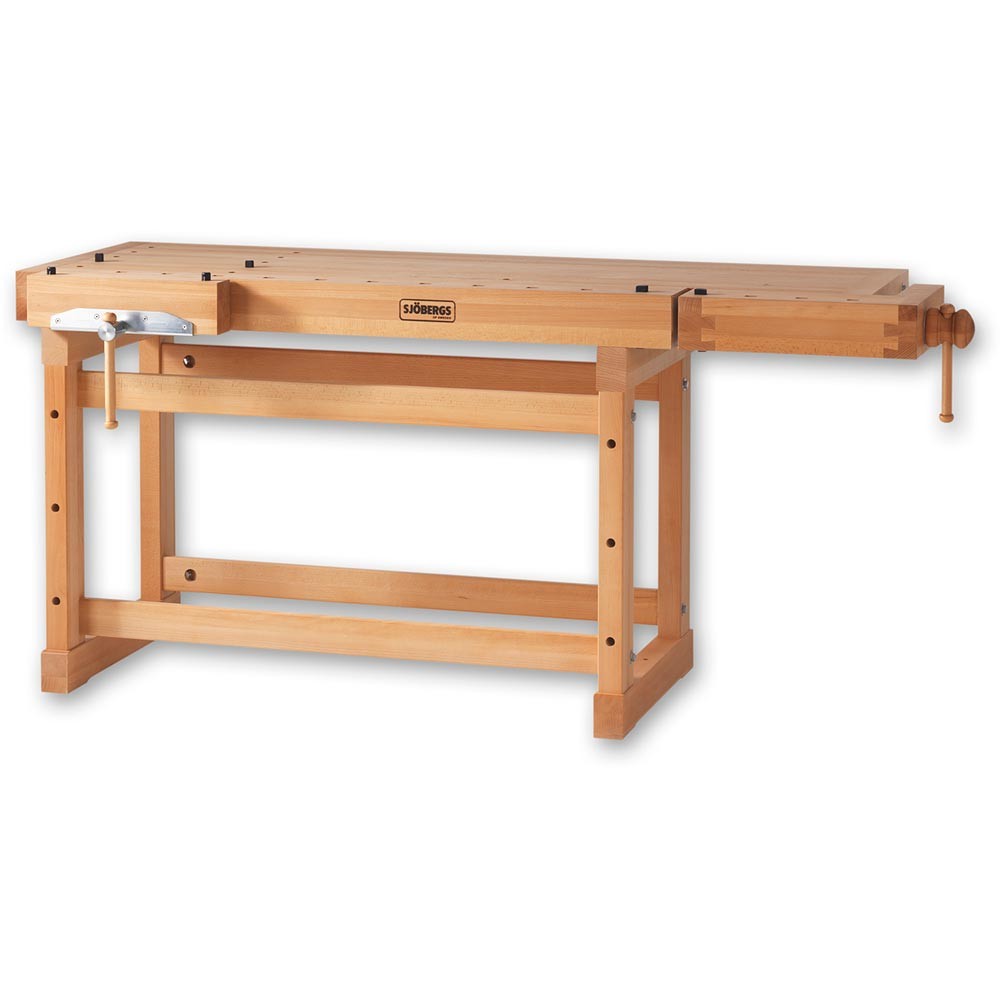
All components except for the vice screw and nut are made in step by step detail from timber. This is my favourite type of vice to work with, it’s versatile and strong. But you can install a different vice if preferred – see this post for choosing the best face vice for your workbench. This build uses timber that requires minimal processing (no laminating), & a design that’s practical to approach with basic hand tools.It’s a simple build that will last you a lifetime. By the end you will have not only learnt how to build a workbench, but you’ll have the knowledge and the ideal platform to continue developing your woodworking skills.
The Best Bench Sanders of 2023 - Picks from Bob Vila - Bob Vila
The Best Bench Sanders of 2023 - Picks from Bob Vila.
Posted: Fri, 25 Aug 2023 07:00:00 GMT [source]
In addition, these plans are free, so you only need to worry about paying for the material, having the right tools, and putting the work in to make this workbench the newest addition to your workshop. Craft this impressive double flip-top workbench to help improve efficiency in the workshop. The workbench plans provide clear instructions for creating two flipping stations that allow you to fasten a power tool to the workbench like a planer or miter saw. When you are done with the tool, just flip the flipping station to store the power tool underneath the worktable.
You will need a cordless saw, a drill, and a brad nailer for this project, although you can also do well with a hammer and a hand saw. There are detailed and color-coded drawings, which show you exactly what you have to do, plus step by step instructions, which show you the best way to build this workbench. If you are looking for a space-saving workbench design, then here's one possible solution. It's strong and can be any height or length that you want, plus, it has no legs.
Featured Projects & Plans
Building a DIY dining room bench is a savvy way to introduce more versatile seating. Perfect for family gatherings, its space-saving design can accommodate more guests while adding a touch of custom style to your dining area. Wrap your favorite tree with love by building a circular bench around it.
This ottoman bench offers the perfect combination of design and comfort, thanks to its high-quality boucle material that mimics the plush feel of authentic suede. It has a sturdy and robust build for superior durability and works great as a sofa footrest or side table. Many ottoman storage benches have a sort of drab color scheme and style, but this 47-inch bench has a more contemporary design and is available in 10 colors.
The Best Bench Vises, According to Testing - Bob Vila
The Best Bench Vises, According to Testing.
Posted: Sat, 20 Apr 2024 16:13:00 GMT [source]
If you need a good-sized workspace then this certainly has it. And the plans, materials list, and pictures should help in making the build easy too. So if you don’t need anything fancy then give this workbench a look. If you are new to the building scene you may still want a heavy duty workbench. So if you would just like a sturdy workbench with lots of workspaces but minimal storage space, then this workbench seems to fit that criteria.
In this case, that's not a problem, because it's going to be sitting under the countertop layer. I also noticed that because I had only clamped the strip down, and not into the edge, there was a noticeable glue gap where the strip butted up against the MDF. But if I was doing something like this on the top of a table, I'd make sure to cut a clean rabbet, and to clamp both down and in. According to the "Getting Started in Woodworking" video, you can build this bench with only a few basic tools - a drill, a circular saw, and a hand-held router.
Those who are new to woodworking will get limited use from this design, but intermediate woodworkers who enjoy their power tools will be able to build and use this woodworking bench. This project will allow you to mount a miter saw, portable table saw, or a good benchtop planer. The other side can be kept bare, or you can also contemplate adding another power tool if you wish. While 2 x 4 framing timber is still used, they also add 1 x 2 as well as 1 x 3 timber. The designer calls for 2 x 4 plywood sheets, but you may find a bit of savings if you have a 4 x 8 sheet cut down to the smaller size. Wood screws and wood glue will help to keep everything together, and a drill and saw should be the only major tools needed to dimension and prep the lumber.


No comments:
Post a Comment